Do you know how to apply a traction pad when you get a new pad? Please see below 10 steps, hope that can be help you.
Step 1
Get a pad. Make sure to purchase a traction pad that works for you. I always get pads with no arch because I have flat feet. Don’t be afraid to put it on the floor at a surf shop and put your bare foot on it to make sure it fits your foot and is comfortable. As well, make sure you like the color and design--these things are a bitch to get off once they're on.
Step 2
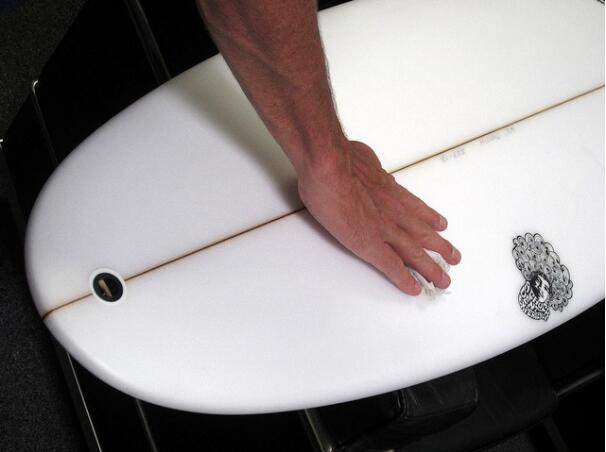
Clean the board. Even if you have a new board, you have to clean it thoroughly as there could be foam dust and other crap on the surface. If you have a used board, scrape the wax off then use acetone to finish. Dry area with a cloth before applying the pad.
Step 3
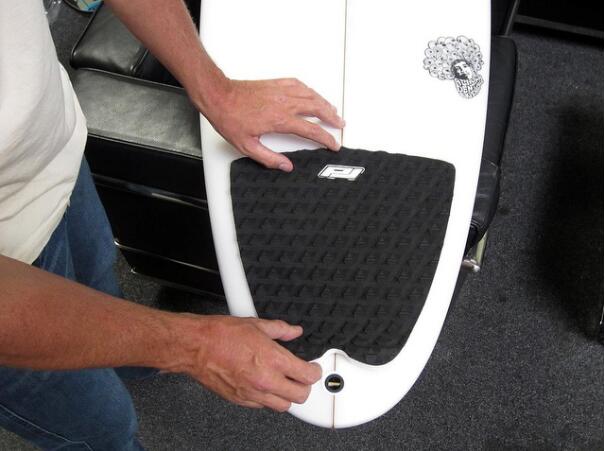
Position the pad on the tail of your board before you take the adhesive backing off. This will give you an idea of where it's going to go and what it's going to look like. Make sure not to put it too close to your leash plug or your leash will get under it and yank the pad off after a few sessions. About an inch above the plug is good.
Step 4
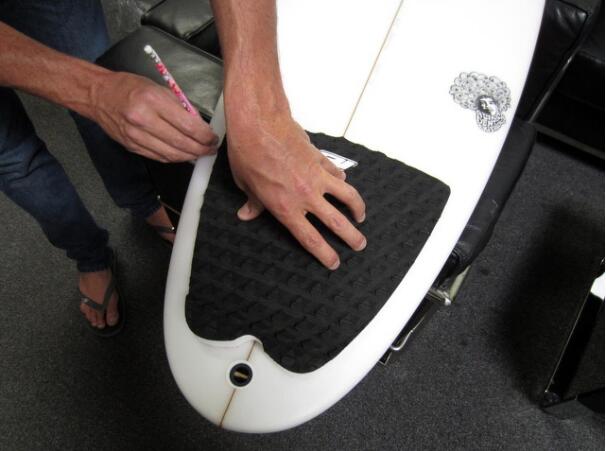
With the adhesive backing still on, use a pencil to mark where you want the pad to sit. Mark it in four corners; this is where you'll be putting the pad next. I prefer to use a Hello Kitty pencil for this step.
Step 5
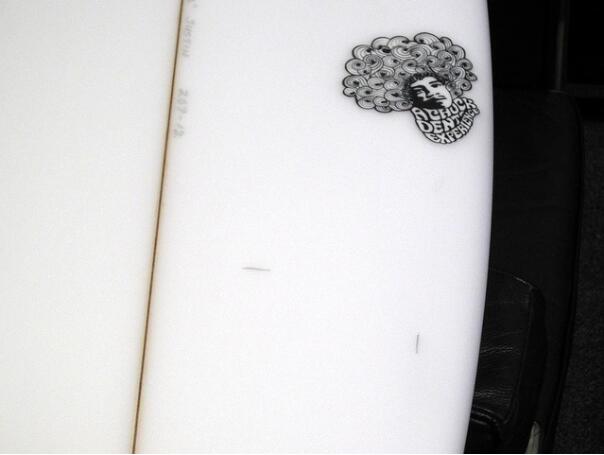
These are your Hello Kitty pencil marks. It's best to use a pencil so you can rub it off afterward.
Step 6
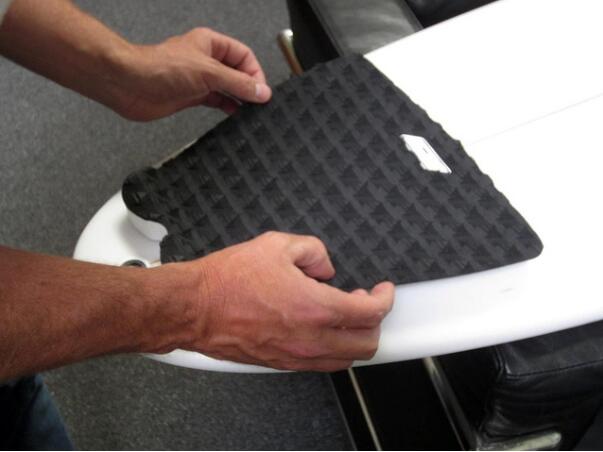
Once you've peeled the adhesive backing off the pad, hover the pad above your pencil marks and slowly put it on the board. You'll want to apply the top part of the pad (where the Pro-Lite logo is) first. You want it to barely touch the board so if it's not straight you can gently peel it up and redo it.
Step 7
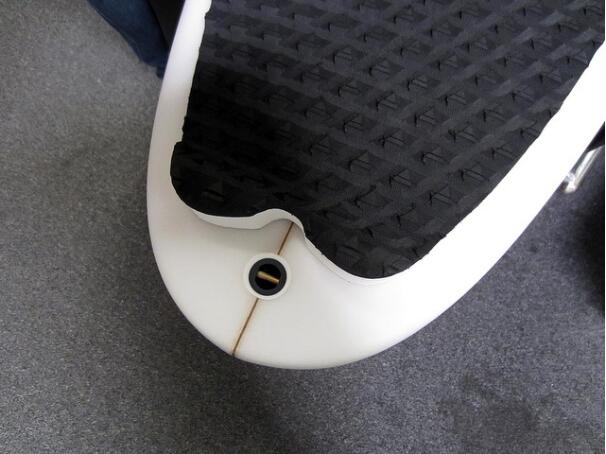
Your pad should be split down the middle by the stringer of your board and the back of it shouldn't be too close to the leash plug.
Step 8
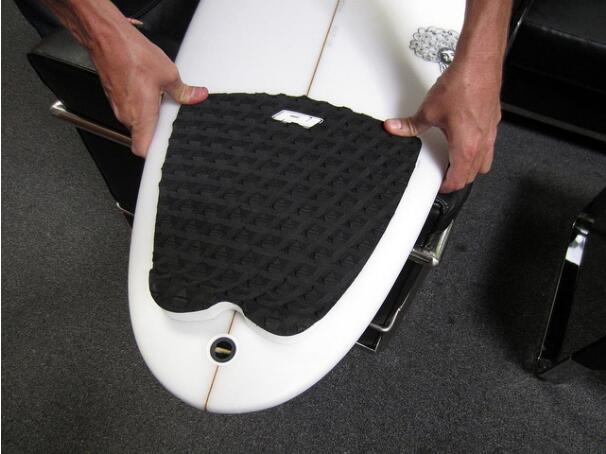
With your board sitting on something soft, firmly push down on the top corners of the pad as this is the first spot that will peel up if not applied properly.
Step 9
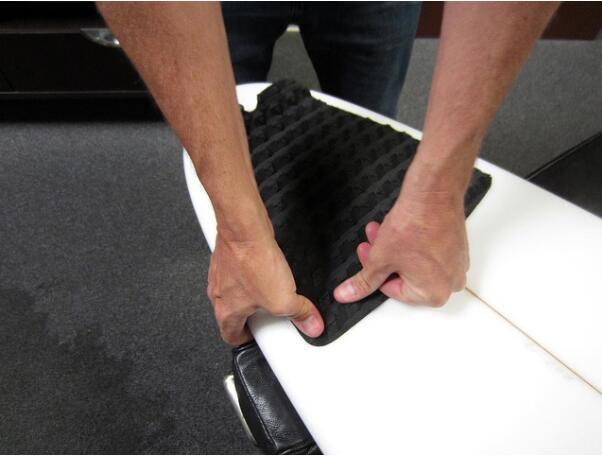
Push the pad into the deck of your board along the edges of the entire pad and in the middle of it. This should eliminate any bubbles and seal it to your board nice and good.
Step 10
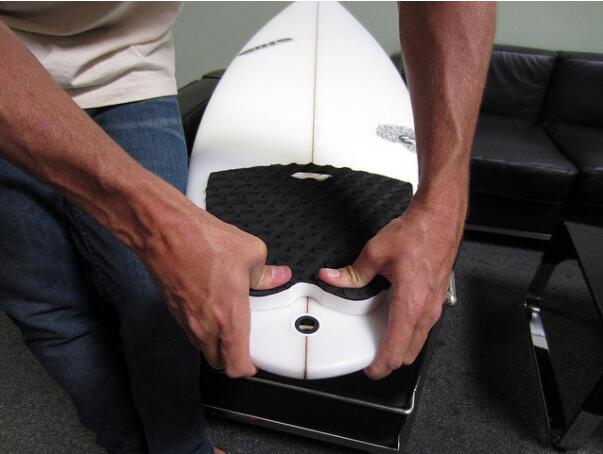
Firmly squeeze the "kick" part of the pad into the tail of your board. Manufacturers say to wait before ripping but if the waves are good, screw the waiting and get out there. As long as you applied it right, you should be good to go!